Growing Microgreens At Home
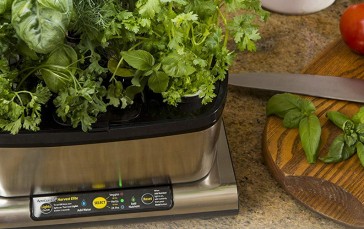
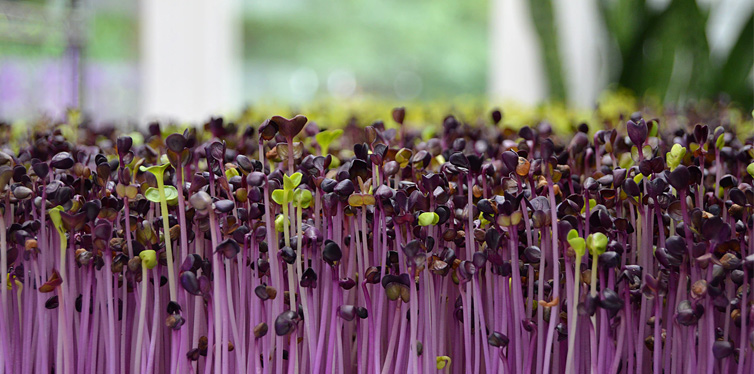
Microgreens, sometimes referred to as micro leaves are leafy herbs and plants that you wouldn’t typically allow to grow to their full size before harvesting such as Radish, Spinach, Coriander, and Basil. It’s relatively straightforward to produce these types of microgreens in your home, particularly if you have a helping hand from indoor herb garden kits. What’s more, if you want to grow food without a garden, a lot of these herbs and plants will grow inside in just a matter of weeks. If you’re planning on growing nutritious and tasty greens on your windowsill, then this guide was made for you.
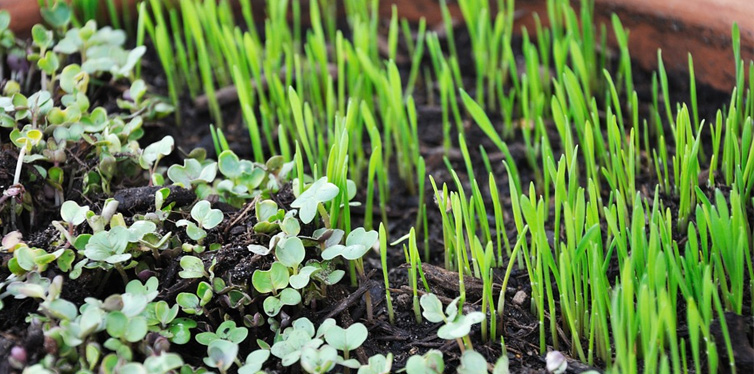
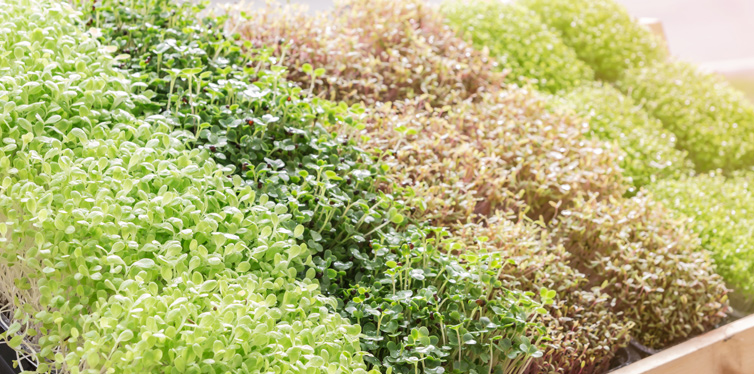
All microgreens grow the same way. First, they’re sown into compost before being placed in natural sunlight for the best results. Because they’re so tiny, they can grow all year round, indoors. Thanks to the convenience of growing these nutrient-packed foods in the comfort of your own home, there’s no need to step outside. What’s more, these simple seeds can be grown in just about anything, so there’s no need to spend a fortune. From seed trays to old plastic containers, all you need is some seeds, soil and a container and you’ll be reaping what you sow in no time at all.
For the best year-round results, you ideally want a constant supply of microgreens. To do this, you should sow seeds in succession each week, ensuring that new leaves will be harvesting just as the last batch is ending. A lot of leafy greens will be ready just a couple of days after germinating, giving you flavourful herbs with minimal fuss.
Supplies you’ll need
- A shallow plant pot or container of some sort
- Soil to fill the trail
- Microgreen seeds of your choice
- Natural sunlight (if you don’t have this, you’ll need a grow light)
Optional:
- A warming mat to speed up the germination process
How To Grow Microgreens
Of course, our guide wouldn’t be complete if we didn’t give you a step by step rundown so you can nail the process the first time around.
- First and foremost, you should choose a south-facing window with plenty of sunlight. If you’re lacking sunlight in your home, you may need to invest in a grow light. Once you’ve found your spot, the real fun begins.
- Put an inch of soil (preferably organic) into the bottom into your planter or container and smooth it out so that it’s as even as possible.
- Evenly scatter the seeds to cover the surface of the soil. As you probably won’t be planting the seeds to grow to full size, you can pack in more than you would if you were allowing them to develop fully. TIP: If you want to speed up the sprouting time, you can soak the seeds overnight beforehand, however, this will make them slightly more challenging to scatter evenly.
- Once the seeds have been evenly distributed, you can cover them with a thin layer of soil before spraying the surface with some water.
- If you have a warming mat, you should place it under your planter at this stage.
- For best results, you should mist the seeds a couple of times throughout the day, keeping the soil evenly moist as you wait patiently for the seeds to germinate.
- Depending on the greens you are growing, they can be ready to harvest in as little as 7 days, sometimes up to 4 weeks. If you’re unsure on the ideal growing time, there are plenty of resources online, or you can check the pack that the seeds come in.
- Once you’ve successfully grown your first batch of greens, you can either remove the roots and replant or start over completely
How To Grow Microgreens At Home FAQ:
Q: How should I cut my greens when they’re ready to harvest?
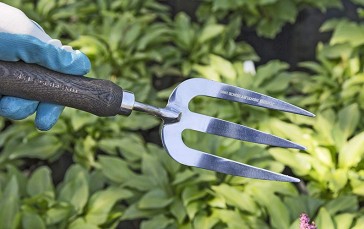
A: For best results, you should cut your microgreens just above the soil level using a pair of sharp pruning shears.
Q: How should I wash my greens before I eat them?
A: Simply wash with clean water before serving your greens up.
Q: Which seeds are best suited to beginner gardeners?
A: Microgreens come in many shapes and sizes, though some varieties are better suited to beginners than others. As a good starting point, you should try mustard, chia and sunflower seeds. If you have the space to grow something a little bigger, try cabbage, broccoli or cauliflower.
If you want to try your hand at a bit of basic gardening, growing microgreens is a great place to start. As we mentioned, you won’t even have to step outside to grow these. All you need is some simple supplies, sunlight and a little bit of patience and you’ll be enjoyed flavor packed greens and herbs in just a few weeks.