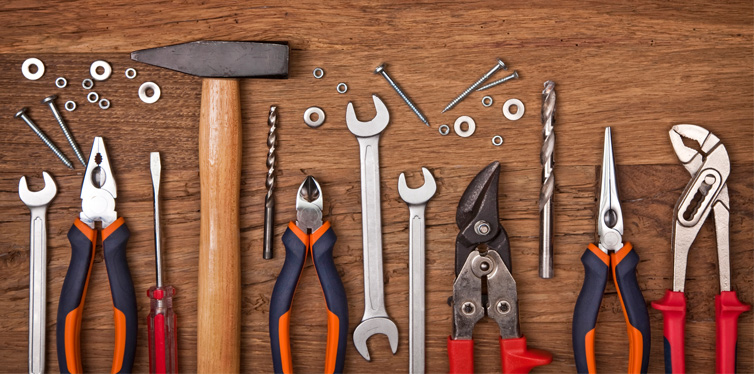
Prevent & Repair Rusty Tools
If you have a number of tools that are already rusting because of non-use, we’ve got the answer for you. Instead of throwing away your rusty hammers and other hand tools, you might want to consider breathing new life into them. Removing rust from your hand tools can be a painstaking process if you don’t know what you’re doing. That’s why we’re sharing with you very easy steps to prevent and repair your rusty tools.
Prepare Your Materials
Similar to any endeavor, it is best to have all of the materials that you will need to clean and repair your rusty bolt cutters and other tools. You don’t want to be already cleaning when you realize that you don’t have the right material for the job. There are cleaning products in the market that already come as a kit. If you purchase any one of these, you don’t have to prepare anything else. If you’re like most individuals who prefer gathering their cleaning materials themselves, here are some of the more important ones you have to prepare.
- Steel wool for removing larger chunks of rust. A metal brush may also work.
- Sandpaper of various grit ratings; coarser sandpaper is perfect for stripping and heavy sanding. Medium-grit sandpapers are for removing small surface imperfections and smoothing surfaces. Fine-grit sandpapers are good for finishing the surface of your tools.
- A piece of soft cloth
- Rubber gloves
- Several pieces of sponges
- Rust remover
Clean The Metal Component Of Your Tools
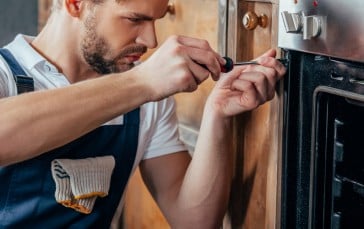
Before you begin removing the rust from your screwdrivers or any other tool, you need to clean these first. Try to scrape off as much rust as you can from your tools using the steel wool. You can also use a metal brush for this.
The idea here is to remove large chunks or loose sections of corroded metal. This will make it easier for you to remove the finer, more stubborn rust itself. It may help to brush them in a bucket full of warm soapy water. This can help loosen up the rusty sections.
Remove The Rust
Now that you’ve prepared your rusty bench vises and other tools, you can start removing the rust. This can be tricky as everything depends on the severity and extent of the corrosion. If you use commercially-available rust removers, there are specific instructions as to how you can remove rust from your tools. Make sure to follow these directions. There are two types of products to address rust in objects.
Rust Removers – These contain chemicals that dissolve rust. They are either acidic or very alkaline. Because of the nature of their chemical composition, you should always wear gloves when working with these products.
Rust Converters – These act like paint that covers the rusted surface. It contains chemicals that stop the oxidation process. This helps prevent the worsening of the corrosion. However, do understand that it doesn’t remove any existing rust. It only stops it from worsening.
If you’re not using a commercially-available rust remover, you can use any of the following:
Baking Soda – Dust your rusty circular saw blades or any of your moderately-corroded tools with baking soda. Cover the rusty areas with baking soda and leave it for about 2 hours. Get your metal brush or steel wool and scrub the rusty area. Make sure to remove the rust until you can see the bare metal of your tool. Rinse it well before drying. Take note that this only works on moderately-corroded materials.
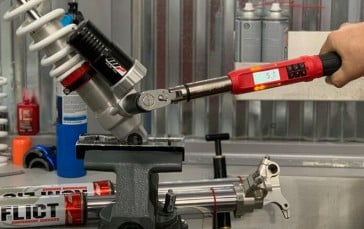
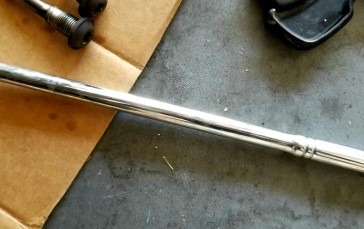
Vinegar – If you have axes or tools that are heavily-corroded, immersing them in a vinegar bath should do the trick. All you need is a shallow pan and fill it with white vinegar. Submerge your heavily-rusted torque wrenches and other tools in this vinegar bath for at least overnight. Scrape the rust off the following day before rinsing and drying it well.
Dishwashing Soap and Potato – You might think we’re making this up, but this solution works. Cut a piece of potato in half. Apply your ordinary dishwashing liquid soap onto the open end of the potato. Use this to scrub the rusty surface of your tools. If you have a rusty tape measure, for example, this will be a great solution because of the flat surface of both the potato and the tape measure. It’s perfect for less-stubborn and small rust stains.
Citric Acid – Head to your health food store and buy citric acid. Add 2 to 3 tablespoons of this ingredient to a bowl filled with hot water. The amount of water should be enough to submerge your rusty tool. Like the vinegar bath, let your tool sit in the solution overnight. Scrub the rust off and rinse and dry well. This is as effective as the vinegar bath.
Lemon and Salt – Cover the rusty surfaces with salt. Squeeze the juice of one lemon over the salt and leave it for about two hours. Scrub off the rust using the lemon rind. If there is still rust, you can repeat the procedure until there is no more rust on the surface of your tools. This is ideal for rust stains that are less stubborn.
Protect Your Tools
After cleaning and removing rust from your tools, it is important to protect it against corrosion in the future.
You may want to use a bluing product which helps prevent the formation of rust. Such products work by facilitating the formation of black oxide which protects the metal from corrosion.
The last step is for you to apply a thick coat of mineral oil onto the metal surfaces of your tools. You can use a piece of cloth or sponge to help you apply liberal amounts of oil. You can also apply WD-40 or any other grease that is specific for metallic surfaces. Leave your tool overnight. This is enough for the metal surface to “absorb” the oil and create a waterproof barrier.
Repairing your rusty tools is easy if you have the right equipment, materials, and knowledge of what to do. Protecting your tools from corrosion is also important in ensuring their full functionality.
Sources:
- 5 Tried and True Methods for Removing Rust from Metal Objects, Apartment Therapy
- How to Remove Rust from Tools Plus Repairing and Preventing Rust, Chemistry Cachet
- How to Restore Your Rusted Old Tools, Popular Mechanics